Introduction
Rail geometry doesn’t fail suddenly—it drifts. Gradual longitudinal creep, loose fasteners, and widening gauge are slow-moving failures that compound over millions of load cycles before anyone flags them in maintenance records. Elastic fastenings and rail anchors are the two components engineered to stop this drift before it starts. Elastic clips hold the rail vertically and laterally at every sleeper. Rail anchors resist longitudinal movement across the full track panel. Together, they create a stability system that conventional rigid fastenings simply cannot replicate. This guide breaks down how each component works, what specifications matter, and how to get both working together for maximum service life.
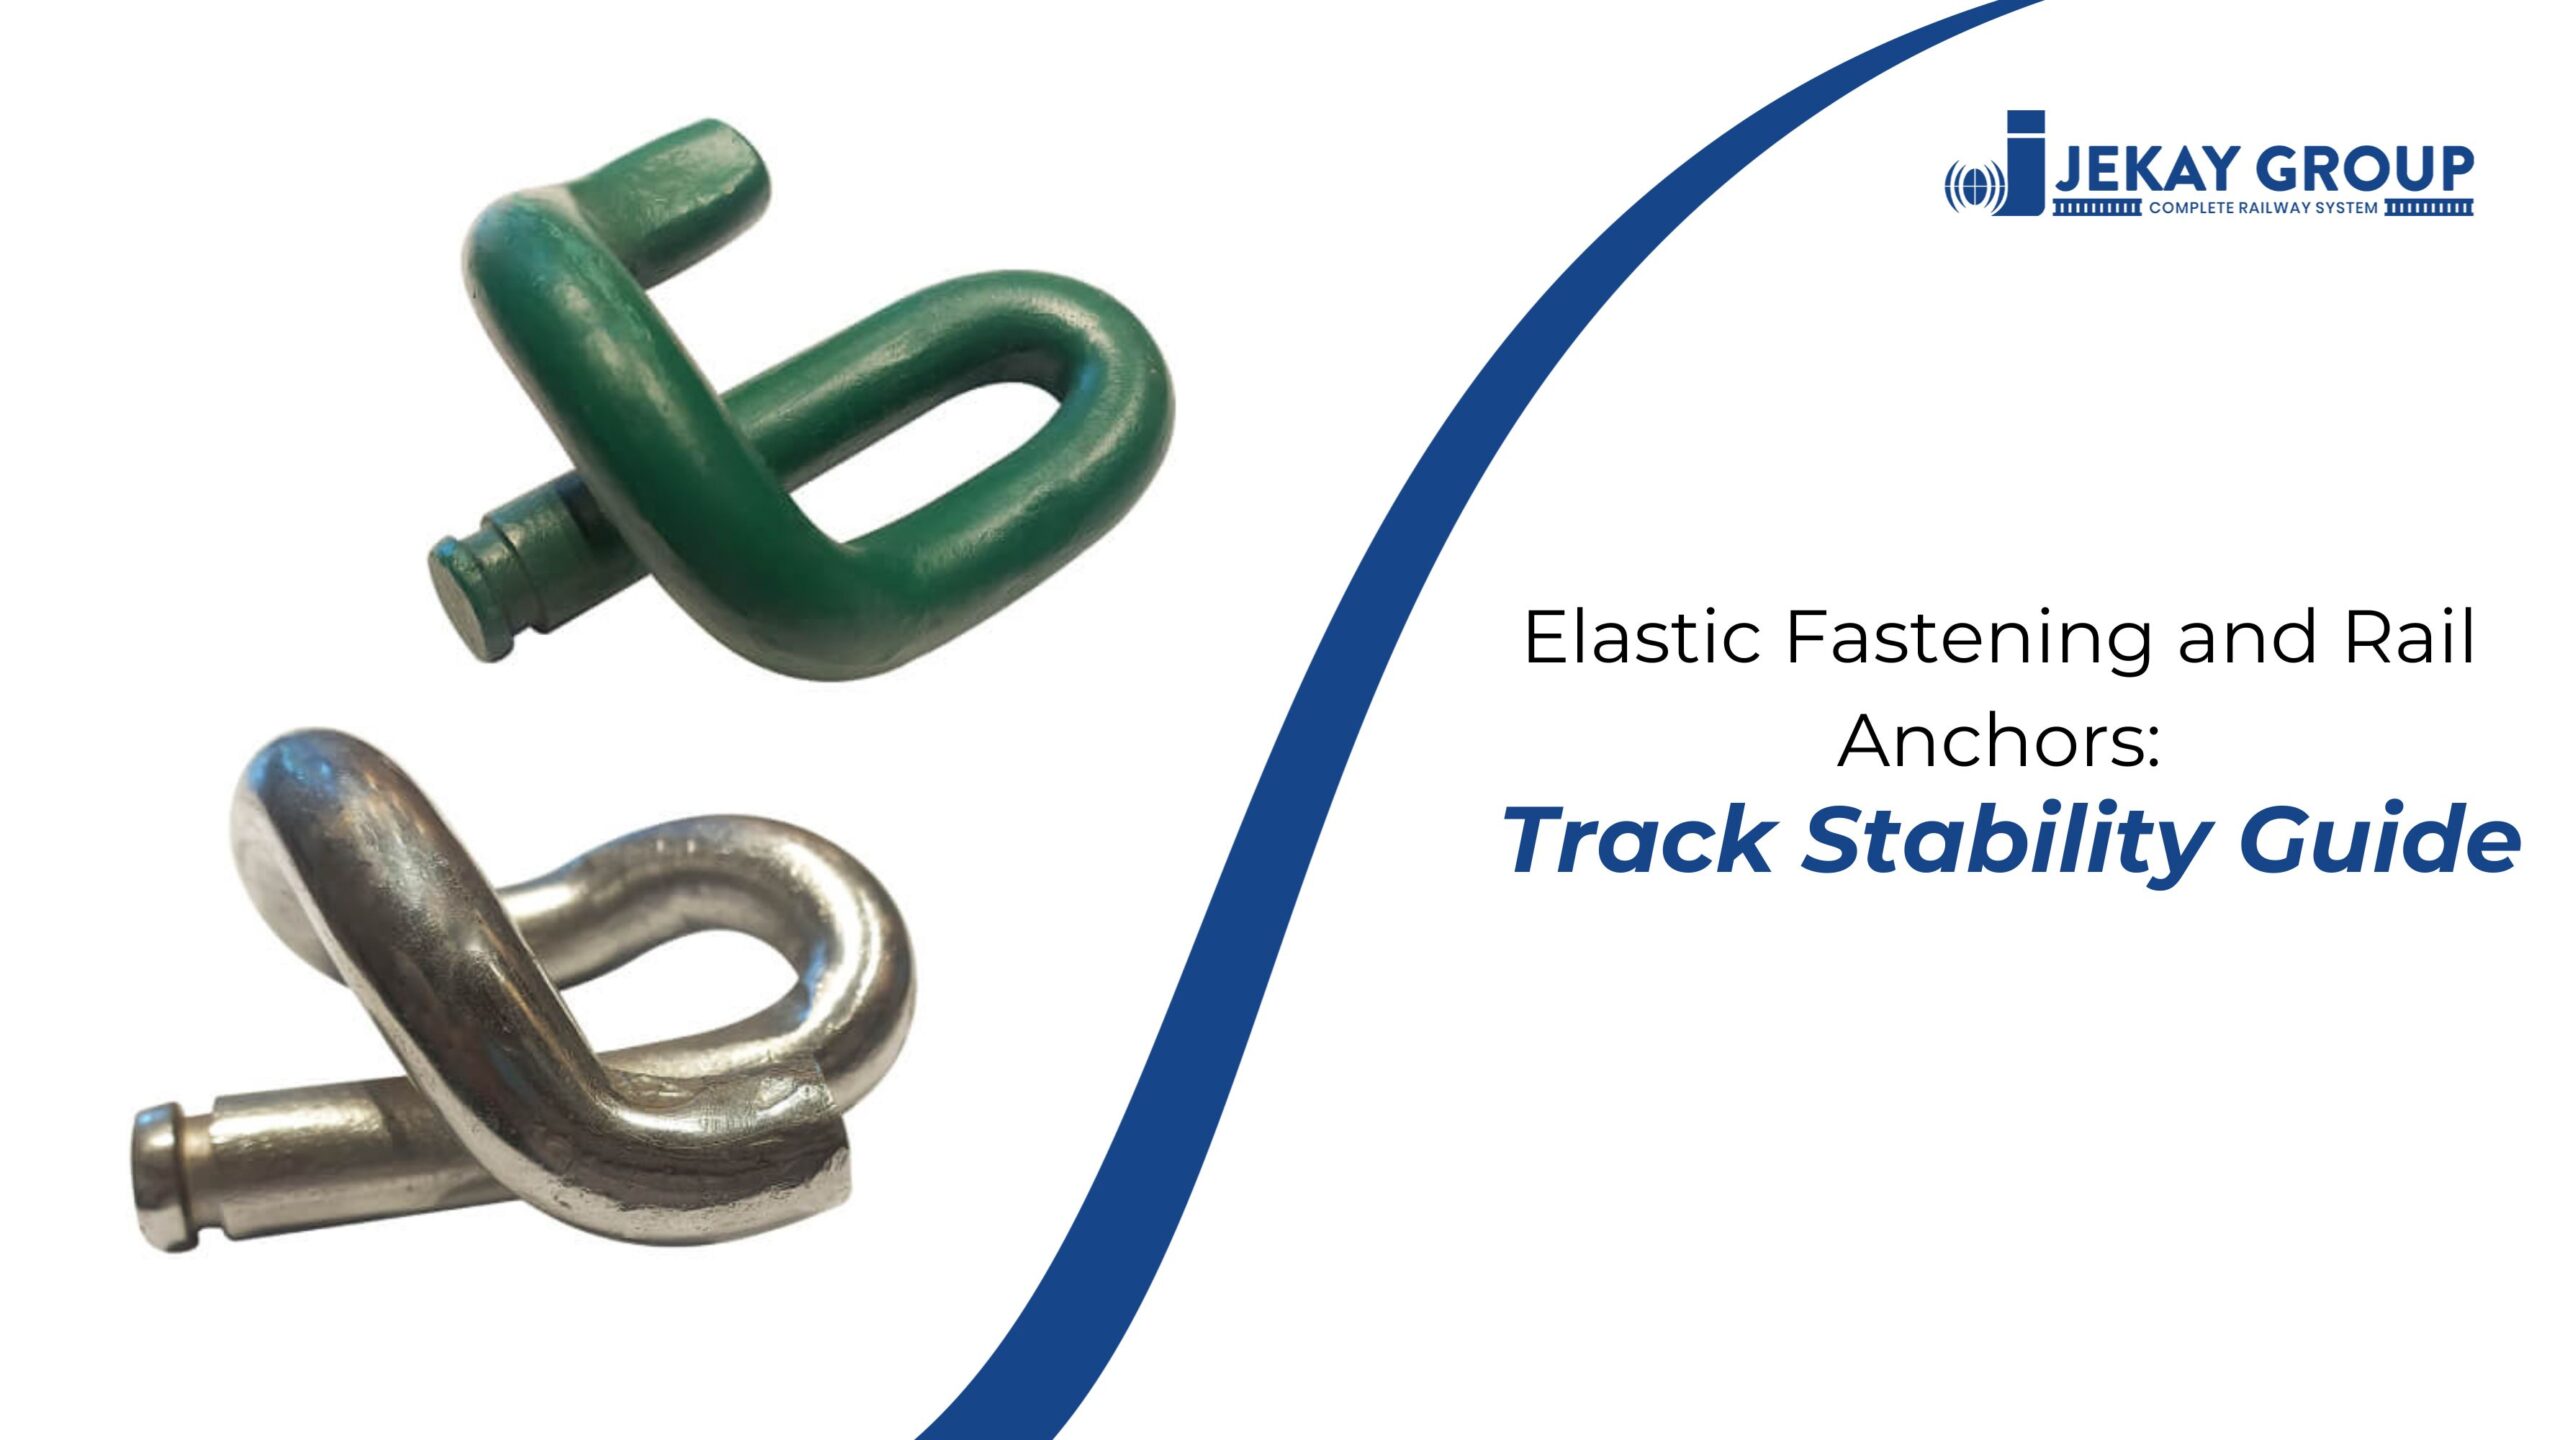
What Are Elastic Rail Fastenings?
Elastic rail fastenings use spring-steel clips to grip the rail foot and hold it against the baseplate or sleeper surface under constant, calibrated tension—called toe load. Unlike conventional cut spikes or bolted plates that grip through friction alone, elastic clips maintain clamping force even as the rail deflects under wheel loads.
A properly designed elastic fastening generates 9–14 kN of toe load per clip. This keeps the rail seated under dynamic forces that spike to 2–3× static wheel load during train passage.
Core Components in the Assembly
A complete elastic fastening system includes:
- Spring-steel clip: generates and maintains toe load
- Rubber rail pad: absorbs vertical shock, prevents metal-to-metal contact
- Nylon/plastic insulator: provides electrical isolation and lateral positioning
- Baseplate or shoulder: anchors the clip to the sleeper and resists lateral rail movement
All four elements need to be present and correctly specified. Substituting one component without adjusting the others changes the system’s stiffness characteristics and can accelerate wear on every element in the assembly.
How Elastic Fastenings Maintain Track Stability
Vertical and Lateral Load Control
When a loaded axle passes over rail, the vertical deflection creates a bending moment that tries to rotate the rail foot outward. Elastic clips apply inward clamping force across the full rail foot width, resisting this rotation and keeping the rail seated correctly.
Lateral forces from curved track, wind loading, and wheel flange contact push rails sideways. Clip shoulders and baseplate edges transfer these forces into the sleeper without relying on fastener friction, which degrades quickly with vibration.
Gauge Protection Under Dynamic Loading
Track gauge widens progressively when fastening systems lose holding power. Studies on mixed-traffic corridors show that rail sections using elastic fastenings maintain gauge within ±1mm over 15-year intervals, compared to ±4–6mm drift in equivalent sections using conventional dog spike systems.
This difference matters operationally: gauge variation beyond 3mm triggers mandatory speed restrictions on most railway networks.
What Rail Anchors Actually Do
Rail anchors (also called anti-creepers) attach directly to the rail base and bear against the sleeper face to resist longitudinal rail movement. They do not clip to the fastening system—they work independently of it.
Longitudinal creep comes from three sources:
- Thermal expansion and contraction: CWR rails try to grow and shrink with temperature swings
- Traction forces: locomotive drive wheels push the rail forward on acceleration
- Braking forces: wheel drag pulls the rail forward in the direction of travel
Without anchors, these cumulative forces cause rail ends to close up, joints to buckle, and fastener holes to elongate in wooden sleepers.
How Anchors Grip the Rail
Anchors wrap around the underside of the rail base and press firmly against the lateral face of the sleeper. The fit is tight enough to prevent movement but allows enough compliance to avoid concentrated stress on the rail base edge. On concrete sleeper systems, anchor function is partially replaced by the elastic clip’s inherent longitudinal restraint—but wooden tie systems almost always need dedicated anchors.
Types of Rail Anchors
Drive-On Anchors
Drive-on anchors are one-piece, high-carbon steel units hammered onto the rail base using a maul or anchor driver. They’re fast to install and provide immediate holding power. Typical installation rate on a track gang: 600–800 anchors per hour with mechanical application.
Best suited for mainline track, bridges, and turnout zones where rail movement is highest. Holding capacity ranges from 40–80 kN depending on steel grade and rail base profile.
Spring-Type (C-Curve) Anchors
Spring anchors use a shaped spring-steel profile that snaps onto the rail base rather than being driven. The spring action lets them be removed and reapplied without damaging the rail or losing holding capacity—a critical advantage during relay work or tie replacement.
Common on secondary and branch lines where track is disturbed regularly for maintenance. Less holding force than drive-on types (25–45 kN), but much easier to manage in the field.
Anchor Spacing Standards
Anchor placement follows defined patterns based on track class and axle load:
- Heavy mainline: every other tie, both sides (2 anchors per tie)
- Standard freight: every third tie, alternating sides
- Light or industrial: every fifth tie minimum
Bridges and transitions require closer spacing—typically every tie for 50–100m on each side of a structure—because thermal movement concentrates at fixed points.
How Fastenings and Anchors Work Together
Elastic fastenings handle per-sleeper stability: they keep the rail seated, isolated, and correctly gauged at every individual fastening point. Rail anchors handle panel-level stability: they prevent the entire rail string from migrating longitudinally as a unit.
The unconventional truth here is that upgrading to elastic fastenings without adding anchors on wooden sleeper systems often makes creep worse initially. The improved vertical and lateral stiffness transfers more longitudinal force into the rail, which needs the anchor system to absorb it. Both systems need to be specified together.
Key Performance Benefits
Installing both systems correctly delivers measurable gains across the maintenance cycle:
- Extended rail seat life: elastic clips eliminate the metal-to-metal wear that destroys wooden tie rail seats within 5–8 years of heavy service
- Reduced tamping frequency: stable geometry means 30–50% fewer tamping cycles over a 20-year lifecycle
- Lower clip replacement rate: properly torqued elastic clips in good track last 15–25 years; conventional spikes need re-driving every 3–5 years in high-vibration environments
- Improved ride quality: reduced wheel-rail dynamic forces cut vertical acceleration in passenger coaches by 15–25%
- Safer CWR performance: anchored rail panels are significantly less likely to buckle in high-temperature conditions because longitudinal stress is distributed across the anchor network rather than concentrating at weak points
Installation Best Practices
Elastic Fastening Installation
- Clean the rail seat surface—remove scale, rust, and debris before placing the rubber pad
- Seat the insulator fully in the shoulder before positioning the clip; a partially inserted insulator creates uneven toe load distribution
- Install clips to the specified toe load using a calibrated installation tool—do not over-drive, which pre-stresses the clip and reduces service life
- Check clip spring height after installation; a clip sitting too flat has lost its load capacity
Rail Anchor Placement
- Mark anchor positions according to the design spacing pattern before installation begins
- Drive anchors tight against the sleeper face—gaps larger than 2mm defeat the purpose
- Alternate anchor positions on either side of the rail to balance longitudinal force transfer
- On bridges and fixed structures, install box anchoring (anchors on both sides of every sleeper for the specified zone length)
Inspection and Maintenance Guide
Elastic fastenings rarely fail visibly until they’ve lost significant holding capacity. These are the checks that matter:
- Clip contact: verify the clip foot is still in contact with the rail base; a lifted clip contributes zero toe load
- Insulator condition: cracks, splits, or missing material indicate the insulator is no longer providing electrical isolation or lateral positioning
- Pad condition: compressed, cracked, or displaced pads change track stiffness and accelerate clip wear
- Anchor contact: drive-on anchors should be tight against the sleeper face; gaps indicate either anchor migration or tie deterioration
Replace any clip showing visible deformation, cracking at the bend radius, or measured toe load below 8 kN. Replace anchors with surface rust deeper than 10% of material thickness.
FAQs
Do elastic clips need periodic re-tensioning?
No—this is one of their advantages over conventional fastenings. A correctly installed elastic clip maintains its toe load through the spring geometry of the steel itself. Re-tensioning isn’t necessary unless the clip has been disturbed, the sleeper has settled unevenly, or the rail seat has deteriorated. Clips that require re-tightening are either incorrectly installed or past their service life.
Can rail anchors be retrofitted to existing track?
Yes, with conditions. Drive-on anchors can be added to existing track during tamping or tie replacement operations without disturbing the fastening system. The rail surface at the anchor seating point needs to be clean and free of deformation. On heavily worn rail with base pitting or base edge damage, inspect before installing—a damaged seating surface reduces anchor holding capacity by 20–40%.
What causes premature anchor failure?
Three common causes: undersized anchor for the axle load, poor contact fit against a deteriorated sleeper face, and installation on heavily corroded rail base where the anchor can’t grip properly. Anchors installed with gaps against the sleeper face provide zero resistance to creep—the most common installation error found during track inspections.
Are elastic fastenings worth it on low-traffic industrial lines?
Yes, but the economics are different. Low-traffic lines benefit most from the reduced inspection and re-fastening labour that conventional spike systems demand. Even at 2–3 trains per day, vibration from heavy haul axle loads (30+ tonnes) causes spike pull-out quickly in wooden ties. Elastic fastenings hold under these intermittent high-load conditions with minimal maintenance.
What’s the correct anchor count per rail for a typical mainline installation?
A standard mainline installation in heavy-freight service uses 8–12 anchors per 39-foot rail, distributed symmetrically. On CWR installations, the number depends on the rail neutral temperature, axle load, and anchor holding capacity specification. Engineering calculations for CWR anchor patterns should be done per the relevant track authority standard—spacing recommendations vary between AREMA, UIC, and IRS specifications.
Conclusion
Elastic fastenings and rail anchors solve two different but linked stability problems. One holds each rail joint in place. The other stops the whole rail from walking away. Install both correctly, to the right specifications for your axle load and traffic pattern, and the track structure takes care of itself for decades with minimal intervention.
If you’re specifying components for new track, rehabilitation, or an upgrade from conventional fastenings, start with the load calculations—then match the clip type, toe load rating, and anchor pattern to the numbers.
Jekay manufactures elastic rail fastening components and rail anchors to IRS and international railway standards, supplying the Indian market and global export customers with components that meet full material traceability and dimensional inspection requirements. Our fastening systems are engineered for Indian Railway PSC sleeper profiles as well as custom project specifications, and our technical team can help you match clip type, anchor pattern, and pad specifications to your exact track conditions.
Contact Jekay to discuss your project requirements and request product samples or a technical quotation. Visit jekay.com and reach out to our engineering team—we’ll help you build a fastening system that stays stable.