
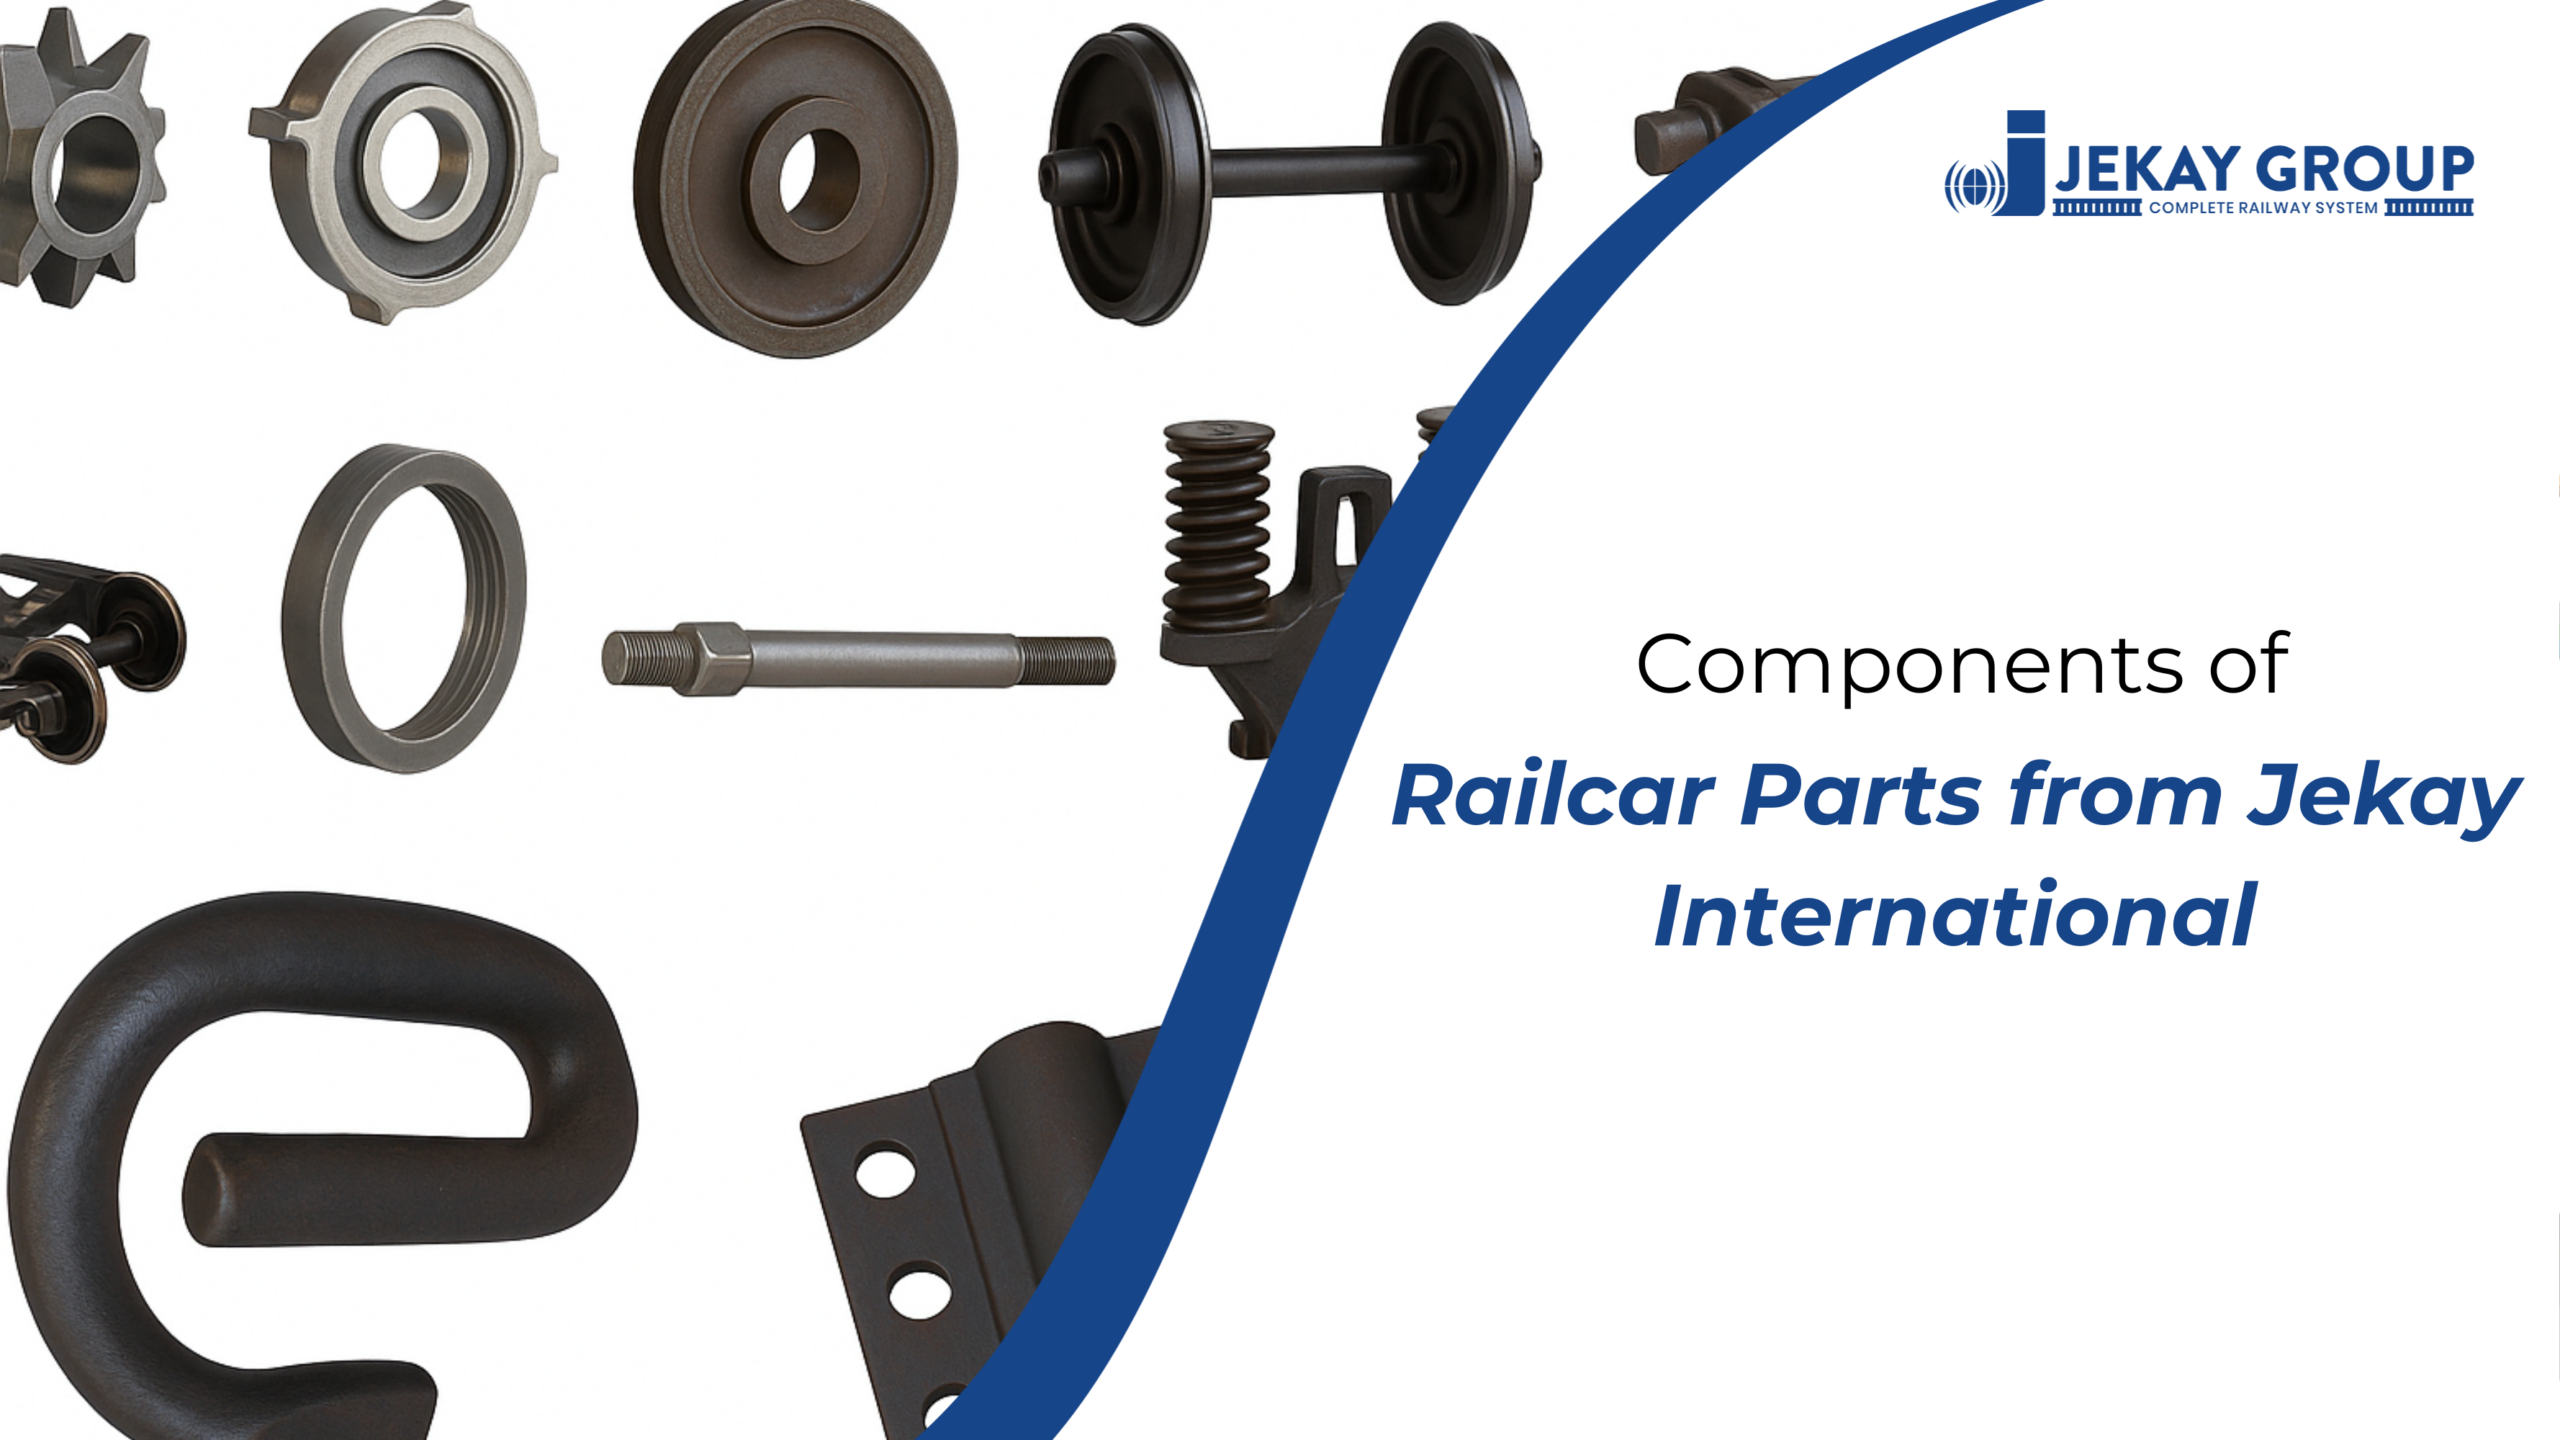
A rail fastening system looks simple from a distance — a clip, a plate, a few bolts. Look closer and it’s an assembly of parts each doing a distinct mechanical job, and getting even one of them wrong shortens the life of the whole track structure. Elastic fastening systems replaced rigid, bolted-down designs decades ago because trains needed a connection that could flex under load instead of cracking under it. This post breaks down every component in an elastic fastening system, what each one actually does, and what to check before you specify one for your project.
What Is an Elastic Fastening System
Early railways bolted rails rigidly to wooden sleepers, a method that worked at low speeds but transmitted every shock and vibration straight into the rail and sleeper. Elastic fastening systems replaced that approach with components engineered to flex in a controlled way, absorbing impact instead of resisting it outright.
Why Elasticity Matters
Controlled flexibility reduces the fatigue damage that rigid systems accumulate over time. It also cuts noise and vibration transmitted into the substructure — a factor that matters far more on high-speed and urban transit lines than most buyers initially assume.
Core Components of an Elastic Fastening System
An elastic fastening system is built from a small set of parts, and each one exists to solve a specific mechanical problem at the rail-sleeper interface.
- Rail clip (elastic clip) — provides clamping force on the rail foot
- Baseplate / tie plate — distributes load and maintains gauge
- Rail pad — cushions the load transferred from rail to sleeper
- Insulator / gauge block — maintains electrical isolation for signaling
- Embedded anchor / plastic dowel — holds the clip to the sleeper
- Screw spikes, bolts, nuts, and washers — secure the assembly to the sleeper
- Spring washers — maintain bolt tension under vibration
Function of Each Component
Each part in this assembly has one job, and the system only performs correctly when all of them work together.
The Clip or Spring
The clip applies clamping force — commonly called toe load — to the base of the rail. A single elastic clip typically bears close to two tons of force during normal operation, which is a useful number to keep in mind when a supplier quotes a clip without toe load data attached.
The Anchor
The anchor holds the clip in position on the sleeper and is usually cast in during sleeper manufacturing. This is why anchor placement can’t be corrected on-site — it has to be right at the point of sleeper production.
The Pad
The pad sits between rail and sleeper, absorbing and attenuating the load before it reaches the sleeper surface. A pad that’s too stiff transmits more shock into the sleeper; one that’s too soft lets the rail move more than the gauge tolerance allows.
The Insulator
The insulator electrically isolates the rail from the sleeper and surrounding components, which is what makes track-circuit signaling systems work reliably. A degraded insulator doesn’t just wear out mechanically — it can create false signal readings that affect train detection.
The Baseplate
The baseplate distributes wheel load over a wider area and keeps the rail at the correct gauge. It’s the platform every other component in the system clamps onto, which makes its dimensional accuracy a factor in how well the rest of the assembly performs.
Types of Elastic Rail Clips
Different clip designs suit different sleeper types, rail profiles, and installation methods.
- E-clip — widely used, simple to install, effective clamping force
- SKL clip — common on ballastless track and turnout applications, torsion-spring design
- KPO clip — used across various European and Asian rail networks
- Nabla clip — designed for specific baseplate geometries
- Fast Clip — shoulder-free and bolt-free, with the base pre-embedded during sleeper manufacturing
- Spring spikes (elastic rail spikes) — a two-pronged design that holds the rail down and secures the baseplate, commonly used with wooden sleepers
Benefits of Elastic Fastening Systems
The case for elastic over rigid fastening isn’t theoretical — it shows up directly in maintenance records and ride quality.
Reduced Noise and Vibration
Elastic components absorb vibration before it reaches the substructure, which measurably cuts airborne and structure-borne noise on high-speed and urban lines. This matters as much for regulatory compliance near residential areas as it does for passenger comfort.
Lower Long-Term Wear
By reducing wheel contact forces, elastic systems cut wear on the track, the substructure, and the rolling stock itself. That’s a three-way benefit most buyers don’t fully price in when comparing upfront clip cost against rigid alternatives.
Better Maintenance Economy
Elastic clip systems generally require less frequent tightening and replacement than dog spikes or rigid bolted connections, since the components are designed to hold clamping force through vibration cycles rather than loosen under them.
Elastic Fastening Systems by Sleeper Type
Component selection shifts depending on what the sleeper is made of.
Wooden Sleepers
Wooden sleepers work well with spring spikes and simpler clip designs, and they offer natural electrical insulation as a side benefit. They remain common on lower-speed lines but aren’t typically specified for high-speed or heavy-haul corridors.
Concrete Sleepers
Concrete sleepers require embedded anchors or plastic dowels cast in during manufacturing, paired with clip systems like E-clips, SKL clips, or Fast Clips. Concrete offers lower maintenance and longer service life, which is why it dominates modern track construction.
Steel Sleepers
Steel sleepers handle heavy loads well and can be engineered to fit a wide range of track specifications, making them a fit for specialized freight or industrial applications.
Installation Considerations
Getting the sequence and tensioning right protects the performance the components were designed to deliver.
- Confirm anchor placement — verify the embedded anchor or dowel is correctly positioned in the sleeper before assembly begins
- Seat the pad — place the rail pad flush against the sleeper surface with no debris or misalignment
- Position the baseplate — align holes and shoulders precisely with the anchor and pad below
- Insert the clip — press or bolt the clip into position according to the manufacturer’s specified mounting sequence
- Verify toe load — confirm the clip is delivering the specified clamping force, not just seated in place
Maintenance and Inspection
Elastic fastening systems need less maintenance than rigid alternatives, but “less” isn’t “none.”
What to Check During Routine Patrols
- Loosened, missing, or corroded clips
- Cracked or displaced insulators
- Compressed or deteriorated pads showing reduced cushioning
- Gauge deviation from anchor or baseplate movement
When to Inspect More Closely
Inspection frequency should scale with traffic density and environmental exposure, with checks intensifying after major weather events or heavy maintenance work nearby. A fastening component that’s loosened gradually rarely announces itself before it shows up as a gauge or geometry defect.
FAQs
What’s the difference between a rigid and an elastic fastening system? Rigid systems bolt the rail directly to the sleeper with no controlled flex, while elastic systems use clips, pads, and insulators designed to absorb vibration and distribute load. Elastic systems generally last longer under repeated cyclic loading and produce less noise.
How much clamping force does a single rail clip provide? A typical elastic rail clip bears close to two tons of force during normal operation, though the exact figure depends on clip design and specification. This toe load is what keeps the rail from shifting under passing axle loads.
Can elastic fastening components be mixed across different suppliers? It’s possible but risky, since clips, pads, and baseplates are engineered as matched systems with specific geometry and tolerances. Mixing components from different sources can undermine the clamping force the assembly depends on.
Why do fastening systems need an insulator? The insulator electrically isolates the rail from the sleeper and surrounding hardware, which signaling systems rely on to detect train position accurately. A failed insulator can create false readings in the track circuit.
How often should elastic fastening components be replaced? Replacement intervals depend on traffic density, axle load, and environmental exposure rather than a fixed universal schedule. Components showing reduced clamping force, cracking, or visible wear should be replaced during the next scheduled maintenance cycle rather than left for the following inspection.
Specify Fastening Systems Built as a Matched Assembly
Jekay International Track Pvt. Ltd. has manufactured elastic fastening components since 1980, engineered to RDSO, EN 13481, and UIC specifications with clips, baseplates, pads, and insulators designed to work together as a single matched system rather than a mix of catalog parts. Our promise is straightforward: fastening components specified for your actual axle load, speed, and sleeper type, backed by verified toe load and fatigue data.
Share your rail profile, sleeper type, and traffic parameters with our engineering team, and get a component-by-component fastening system recommendation for your project.
